How to Add an Email Sender
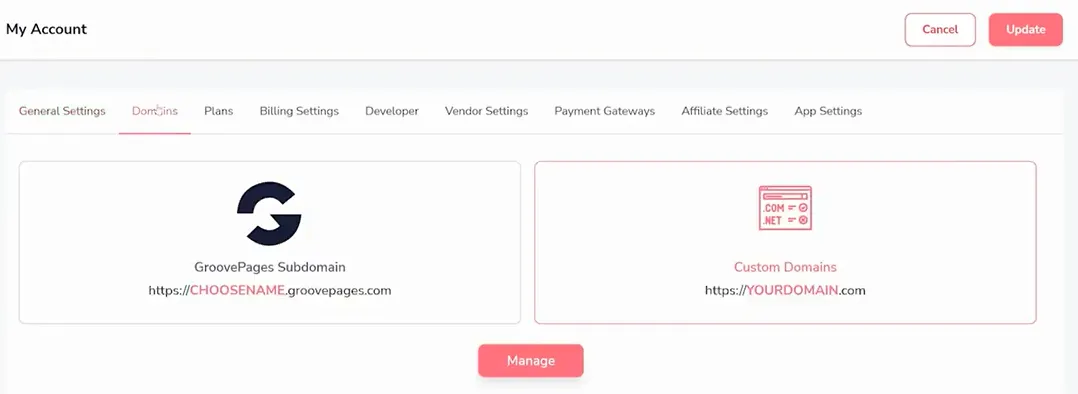
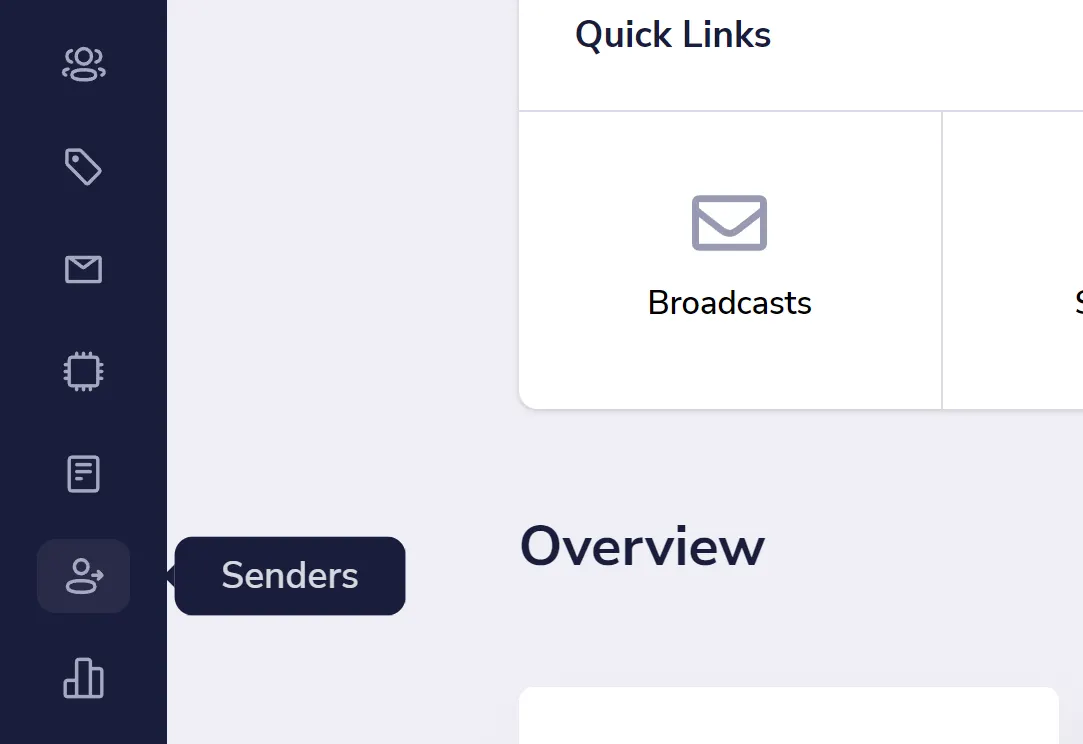
Before sending any emails through GrooveMail (and in some other areas of Groove) you will need to add an email sender. Go to Senders in the sidebar (shown below) to set this up.
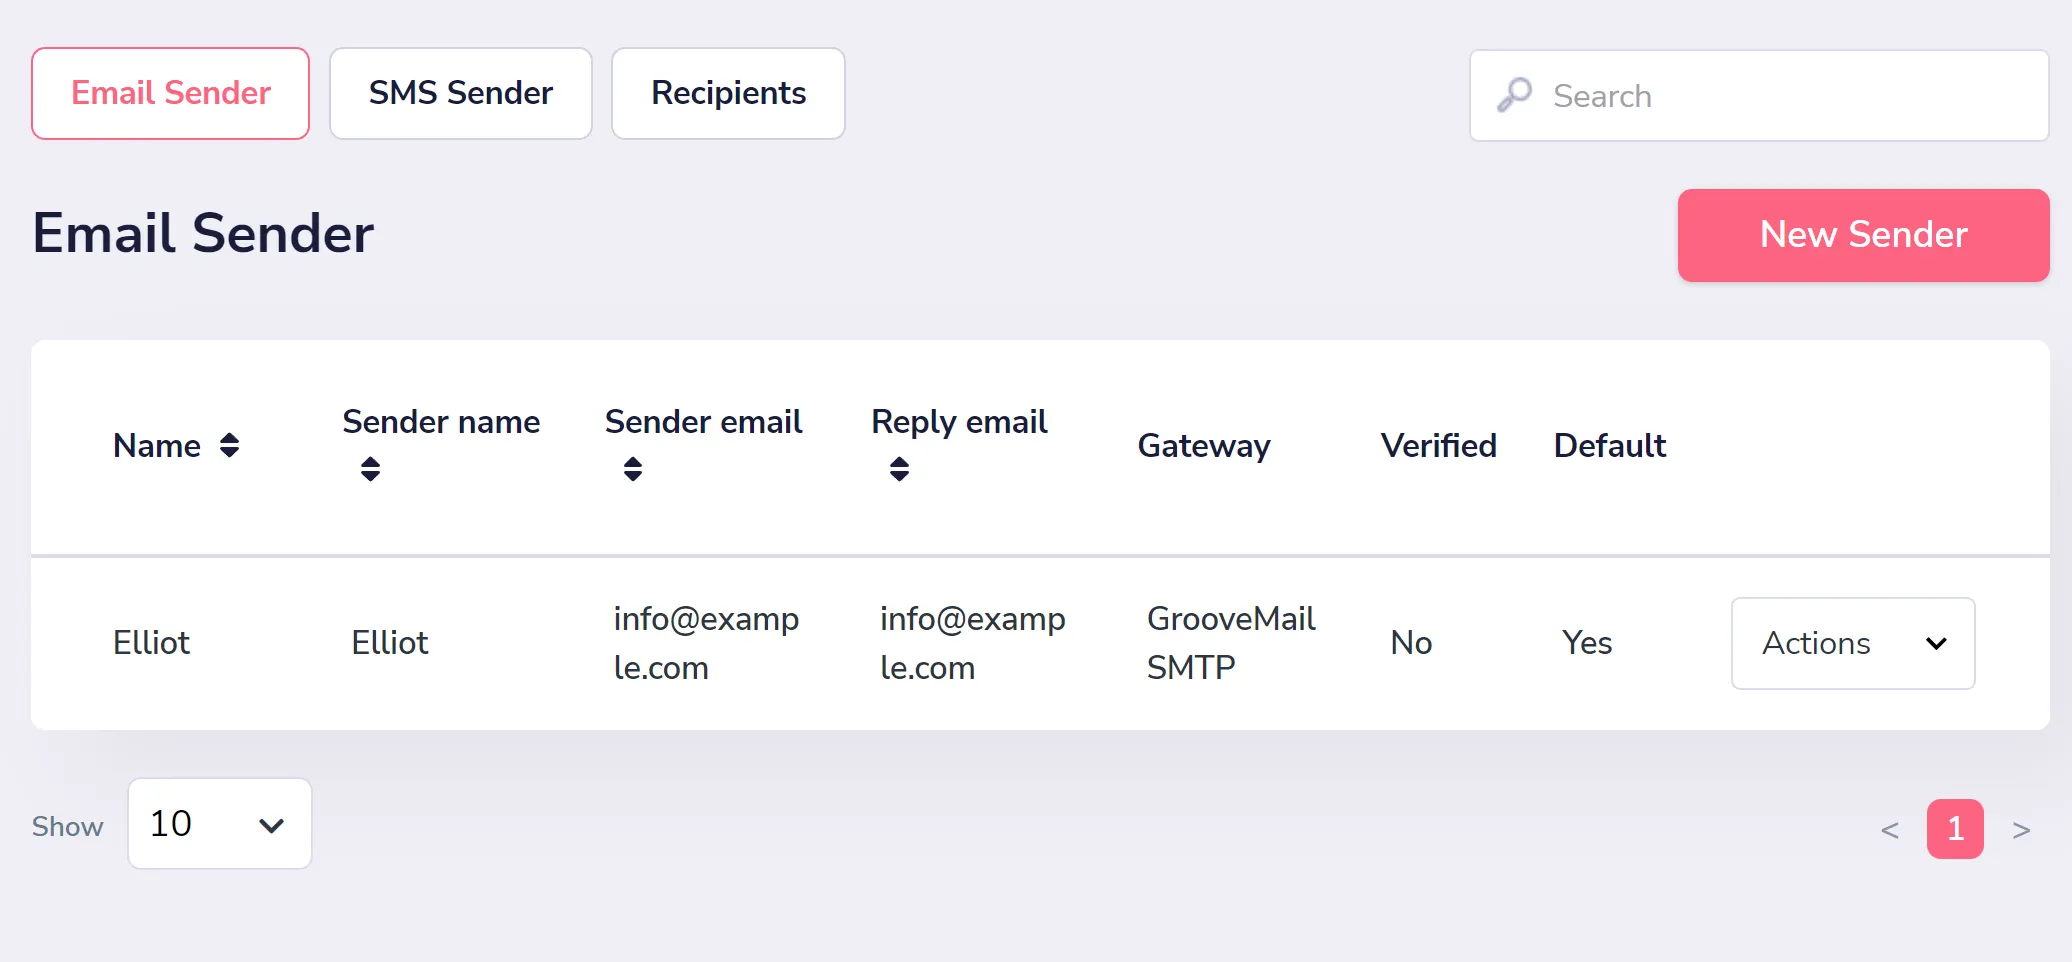
You are brought first to Email Senders where you can click "New Sender" (shown below in the upper right) to add your first sender.
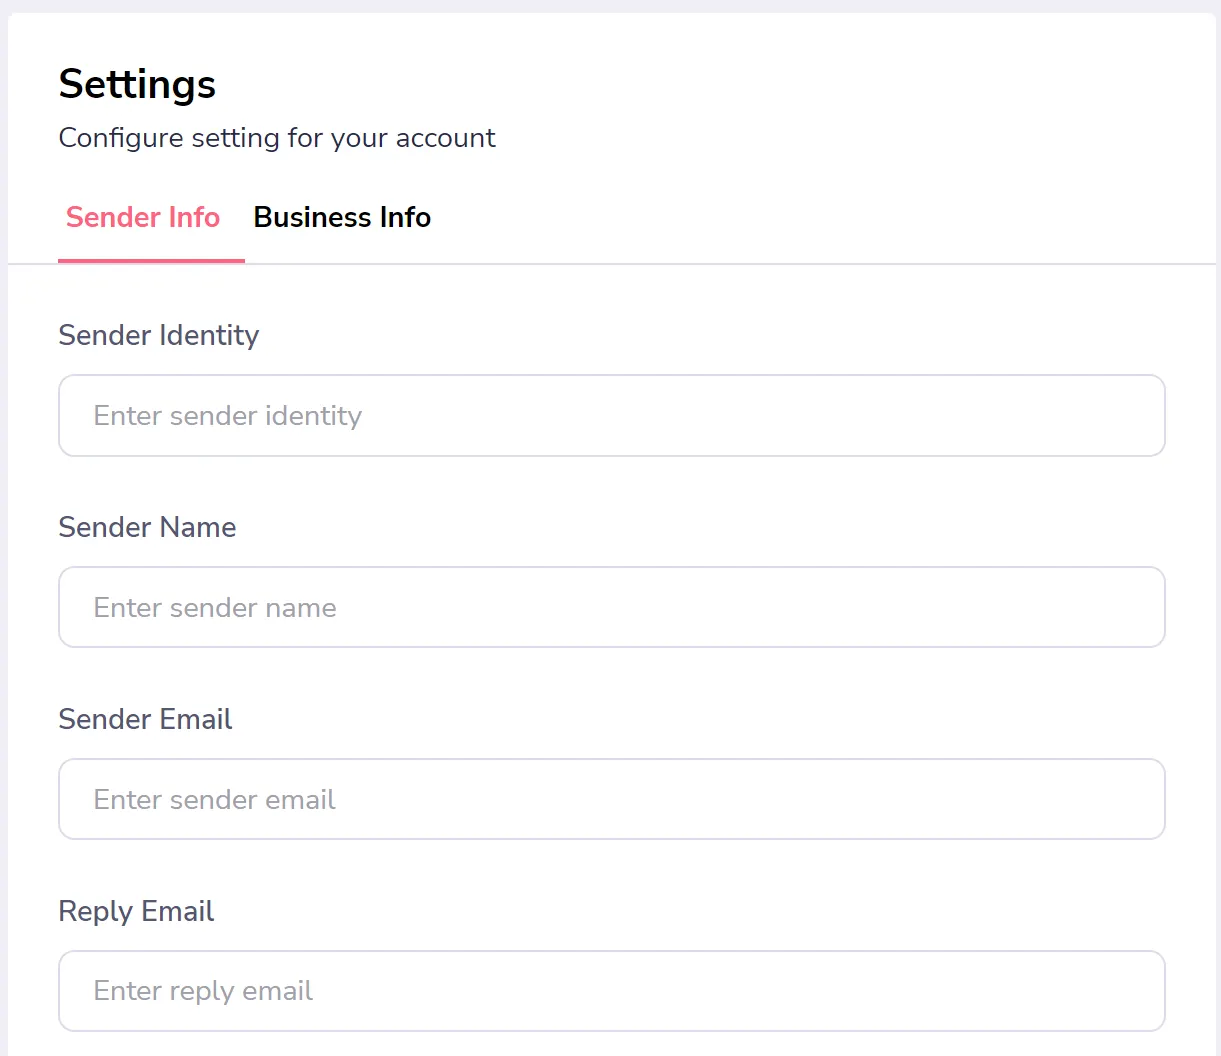
You will need to add information to both tabs here before moving on. First is the Sender Info (shown below) which includes:
- Sender Identity (a name for you to identify this sender in Groove)
- Sender Name (the name shown in recipient emails)
- Sender Email (the email address that sends the email)
- Reply Email (the email you want replies to be sent to, which can be the same or different)
Below the text fields, you can choose whether this is your default sender for all emails and what SMTP driver to use (shown below). There are a few options and each requires different information from your external SMTP account.
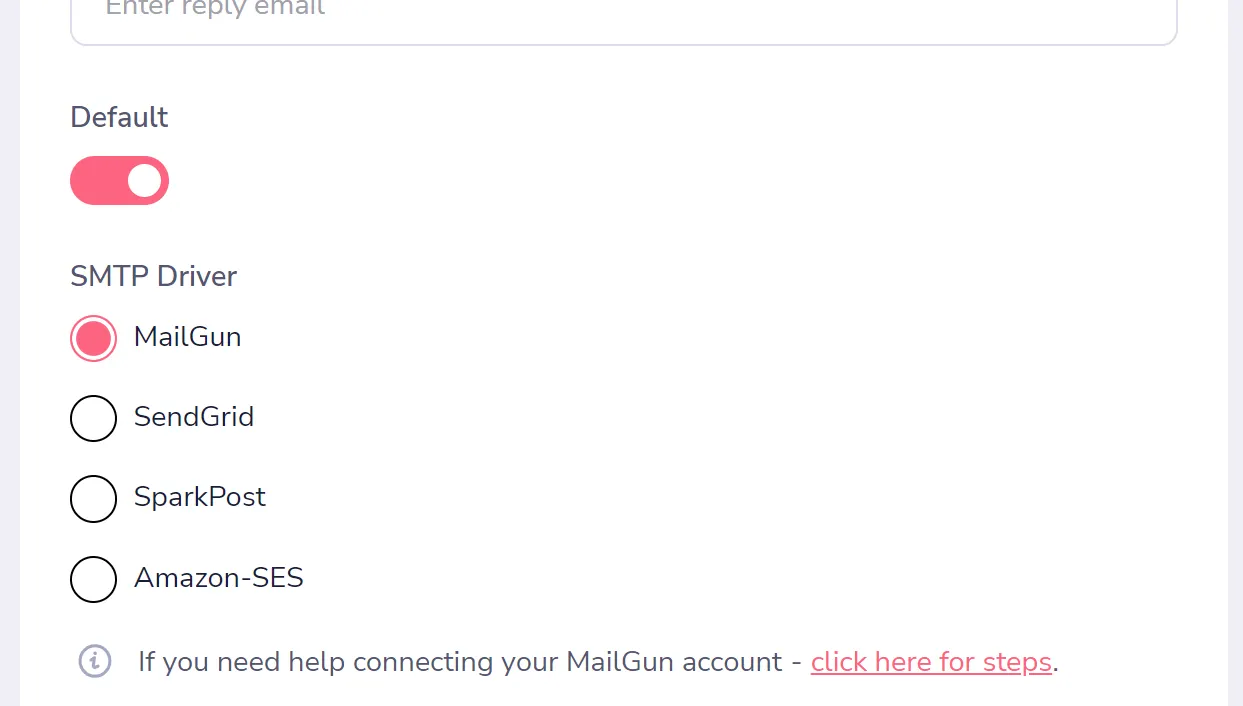
MailGun (shown below), for example, requires Username, Password, and Webhook signing key, then you are given a Webhook URL to bring back to MailGun. You can find links to more specific tutorials at the bottom of this post.
![]()
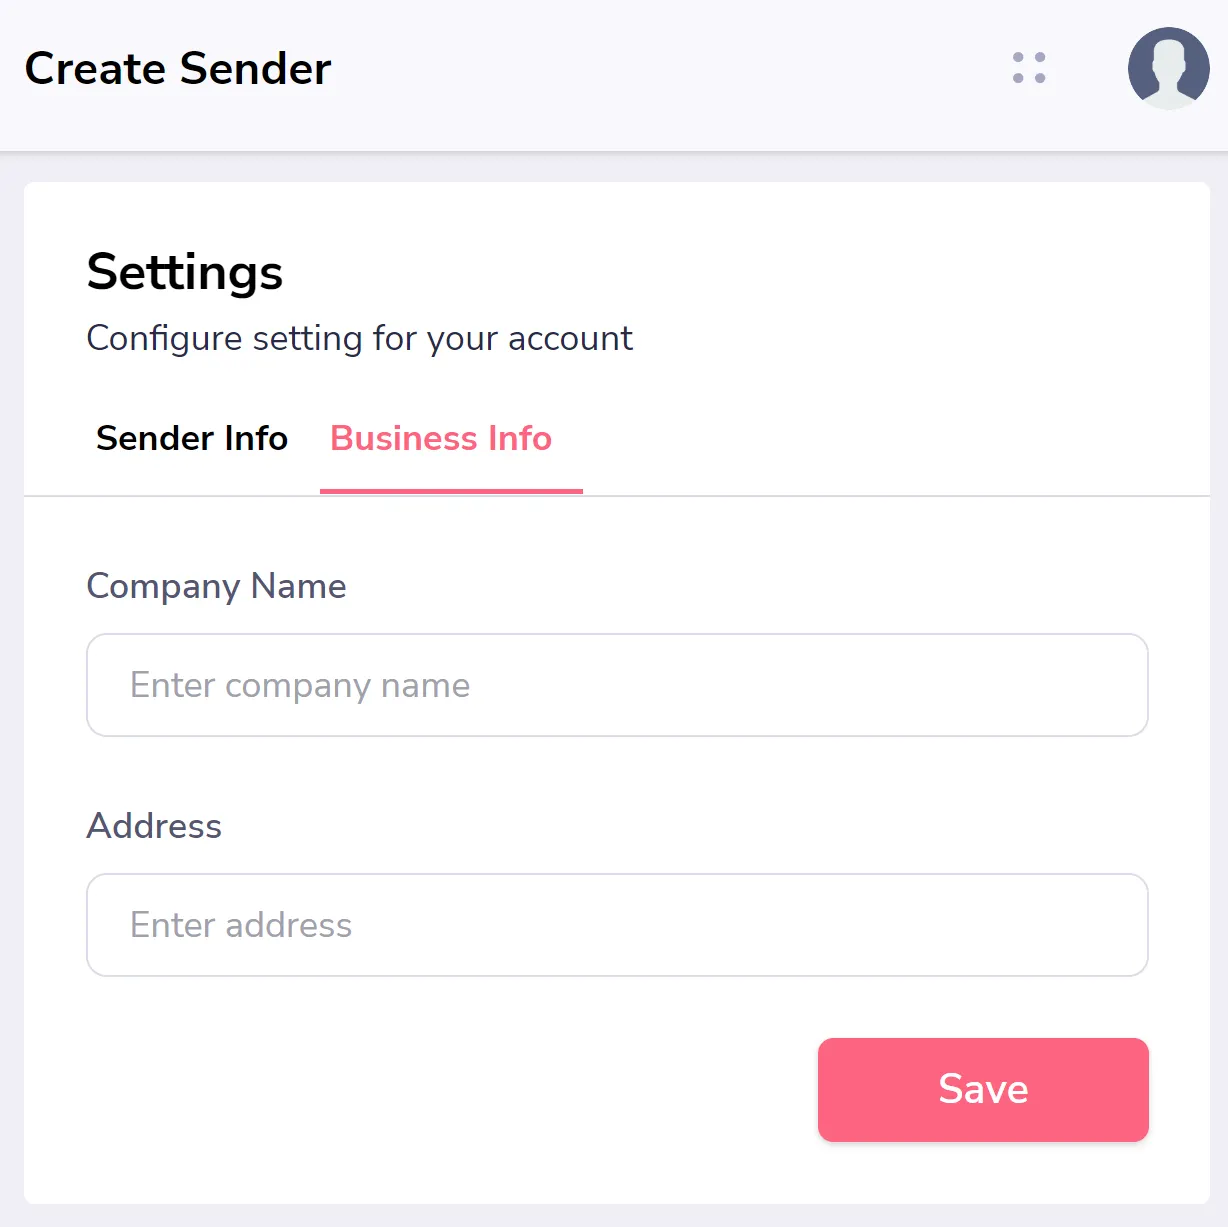
After filling out this first set of information, move to the next tab "Business Info". To comply with the CAN-SPAM Act, you will need to include your company name and address (shown below). Once entered, click to save and your email sender is added.
Tutorials for SMTP drivers: